
The Bunnings Workshop community can help with your home improvement projects.
- Bunnings Workshop
- >
- Discussion
- >
- Outdoor
- >
- Tiling suggestions and guidance wanted f...
Tiling suggestions and guidance wanted for outdoor area
- Subscribe to RSS Feed
- Mark Topic as New
- Mark Topic as Read
- Float this Topic for Current User
- Bookmark
- Subscribe
- Mute
- Printer Friendly Page
Share
- Mark as New
- Bookmark
- Subscribe
- Mute
- Subscribe to RSS Feed
- Highlight
- Report Inappropriate Content
Tiling suggestions and guidance wanted for outdoor area
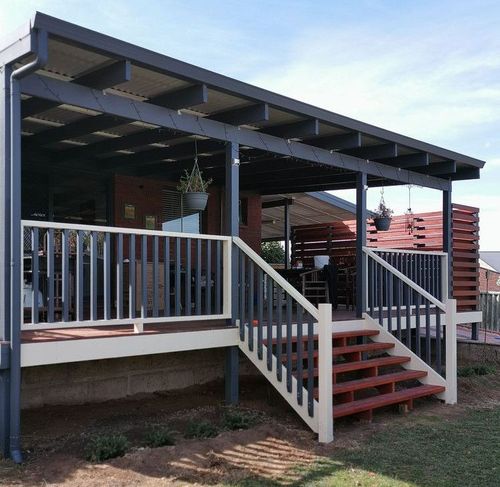
Hi All, I have a courtyard on side of the house that needs some attention. In terms of flooring, I was previously thinking of a deck but believe there is not enough clearance with the door levels.
I believe tiling might be a better option here . Keen to hear your thoughts and any guides on how to give it a shot myself (tile suggestions, tools etc. The area is 7.8m x 1.9m.


- Mark as New
- Bookmark
- Subscribe
- Mute
- Subscribe to RSS Feed
- Highlight
- Report Inappropriate Content
Re: tiling suggestions and guidance for outdoor area
Hi @vic_w,
Tiling your courtyard would be a great option. It'll provide a durable and visually appealing surface that is relatively easy to maintain. You'd be correct that there is not enough room to create a deck without impeding the doorway. The only way I can think of getting around that would be incorporating a step down to the door.
Choosing tiles specifically designed for outdoor use is important, as they are more resistant to weather conditions, moisture, and fading. Porcelain tiles are a popular choice for outdoor areas due to their durability. Natural stone pavers are also a wonderful choice but may require more maintenance or periodic sealing.
To tile the area, you'll start by cleaning the concrete courtyard thoroughly, removing any dirt, debris, or loose materials. It appears that your concrete is in good condition, so it's unlikely that you'll need to repair any cracks or uneven areas. However, it's important to ensure proper drainage by sloping the surface slightly away from your house, allowing water to run off easily. This can be done during the tiling process.
Some items that you'll need:
- Tile cutter: A manual or electric tile cutter will be essential for cutting tiles to fit around edges, corners, or obstacles.
- Trowel: Use a notched trowel to apply adhesive onto the concrete.
- Grout float: This tool is used to apply and smooth the grout between the tiles.
- Spacers: Plastic tile spacers help maintain consistent spacing between tiles.
- Adhesive: Select a high-quality adhesive suitable for outdoor applications, such as Davco 20kg Ultraflex Ceramic Tile Adhesive
- Grout: Select a grout that is resistant to moisture and outdoor conditions, such as Dunlop flexible grout.
It's best to follow the manufacturer's instructions on the adhesive packaging for mixing and application. Start by applying a layer of adhesive or mortar onto the concrete surface using the notched side of the trowel. Place the tiles onto the adhesive, using spacers to maintain consistent spacing between them. Press them firmly into place. Cut tiles as necessary to fit along the edges or around any obstacles.
Once the adhesive has cured, remove the spacers. Mix the grout according to the manufacturer's instructions and apply it to the tile joints using the grout float. Remove any excess grout with a damp sponge. Allow the grout to dry, and then clean the tiles with a grout haze remover or a mixture of water and vinegar.
Sealing.
After the grout has fully cured, consider applying a sealer to the tiles to protect them from stains, moisture, and UV damage.
Here's a helpful step-by-step guide on How to lay floor tiles.
Remember your PPE, including gloves, safety glasses and a face mask.
Please let me know if you have any questions, as it's quite an involved project.
Mitchell
Why join the Bunnings Workshop community?
Workshop is a friendly place to learn, get ideas and find inspiration for your home improvement projects
You might also like


We would love to help with your project.
Join the Bunnings Workshop community today to ask questions and get advice.