The Bunnings Workshop community can help with your home improvement projects.
- Bunnings Workshop
- >
- Featured Projects
- >
- Upcycled table with concrete top
Upcycled table with concrete top
Share
- Subscribe to RSS Feed
- Mark as New
- Mark as Read
- Bookmark
- Subscribe
- Printer Friendly Page
- Report Inappropriate Content
Concrete tabletops create a modern look and this project shows you how to refresh your existing table.

The project
I bought a secondhand table and bench seat combo. It was the perfect shape and size that we needed, but didn’t match with our decor. It was a dark brown laminate, which had seen better days, chipped and scuffed from the previous owner.
I sanded back the laminate on the chairs and table to see what was underneath. It’s a pretty heavy unit so I was hoping it was something decent. The legs of both the table and bench seats were a nice timber, the tops of the chairs and table were a thick chipboard, which would still work well for what I needed.
I had done what I thought was a fair amount of research on concrete tables, but the concrete was still a bit of trial and error. The first time it didn’t work, even after the back-breaking hours I spent smoothing, it just wouldn’t stick to the timber when dried. After further research, I found the right cement to use and also a high grade clear matte concrete sealer, and presto! A concrete tabletop. I lacquered the table legs in a nice natural stain and sprayed the chairs completely in black satin for contrast. The black also helps tie in with other furniture and accessories in the lounge room.
The process was time consuming and did end up costing more than expected, but it's a lot cheaper than buying this new from a store. Now we can eat at our table again.
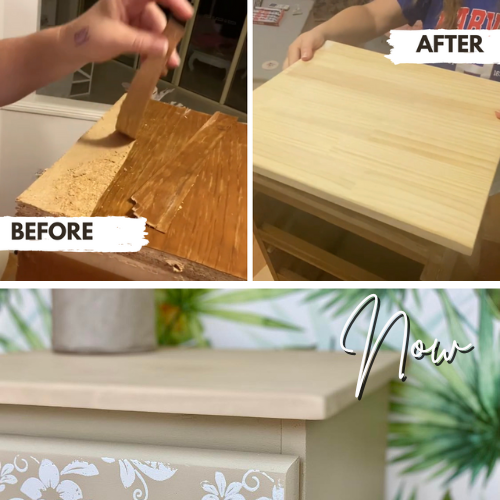
Before and after


Tools and materials
- Drop sheets (depending on where you are – cement will get messy)
- Electric hand sander (trust me, save your arms the time. You can pick one up for $60 from Bunnings)
- Sandpaper – course to fine grit
- Gloves
- Disposable mixing buckets
- Hand spade
- Cement trowel
- Ardex Feather Finish
- BondCrete
- Aqua Mix Gold
Other than the cement and sealer, you can pick everything up from Bunnings. Unfortunately normal cement just won’t stick to timber because when the timber expands and retracts with temperature, the dried concrete will crack away (learned this the hard way).
The Aqua Mix sealer I used is on the expensive side, but after reading many reviews with people struggling to manage stains on their concrete tables, it was a worthwhile purchase to find something that is heavy duty. So you don't have to be that person who yells at your guests for putting ice cold drinks directly down on the table for fear of rings.
How to create a concrete tabletop
1. Prepare the table surface. To ensure the cement has something to grip to, you need to ensure that the surface has been ruffed up and gloss lacquers are removed. I used a course 60-80 grit sandpaper. Remember to also sand the edges of the table.
2. Remove any legs from the table if you can, or cover them well.
3. Dust off the table and wipe down with a damp cloth. The surface needs to be completely clean before applying the cement mixture.
4. Make sure you wear gloves. In a bucket, mix-up up your concrete mixture with your hand spade, slowly adding water until you are happy with the consistency. I’d recommend using disposable buckets, unless you're happy to clean in-between each coat. The consistency of the cement should be like icing sugar – easy and smooth to work with, but not too thin so that it will slide off the edges. Only make small amounts at a time as it can dry quickly, so just work with the amount you’re comfortable with. I suggest making enough for the top and then the sides.
5. Ensure you’ve mixed the cement well and there is no powder left. Add in a good dash of BondCrete. Mix well again. You’ll only need to add the BondCrete in the first layer. This is like a glue to help the concrete bond to the wood.
6. With your hand trowel, dollop a fair amount of mixture directly onto your tabletop, and then smooth and spread it over the surface. It should glide over really easily, it’s almost therapeutic. The thinner the layers, the better, and you’ll have more control if you keep them thin and smooth. Work your way around the table, making more mixture if needed. I wanted something imperfect, so I applied the mixture in half circles, but this is up to you, depending on the texture you’re after.
7. For the sides, put a dollop of mixture directly on the trowel and run it along the sides, then smooth out. Try to smooth out as many bumps and lumps and wipe off any excess. But if you do end up having dry lumps, don’t worry too much as you can always sand it off when it dries.
8. Let each layer dry overnight before the next. You will find that you will still see the table in patches after the first and second coat, but don’t stress you’ll need to repeat the process for around three or four coats.
9. Depending on how smooth your layers are, you can either go directly over the top with another coat, or lightly sand in-between. It does become harder to smooth if the dried concrete layer before is bumpy. But if you do sand in-between, I cannot stress enough to make sure you’ve dusted the table well. Any loose grit will end up getting dragged through your next layer, leaving lines.
10. Once you’re happy with the amount of layers, give it a day or two to completely dry before the final sanding.
11. If you are looking to sand this down until you achieve a polished concrete look, then I’d recommend you do a minimum of five layers. I was only going to do three layers, and then I had a spill and dribbled water on a corner – water will stain your table until it is sealed – so I had to do a fourth layer to cover it, and then I sanded it back with 120 grit sandpaper with the electric hand sander. I still wanted to have some texture to the table so that it is smooth yet showed some definition.
12. Once you’ve achieved the sanding results you are after, it's time to seal it. I used a small soft foam roller to apply the sealer, and ended up having streaks where the roller was. Very faint, but I can still see them. So I’d recommend you use a soft cloth and apply the sealer in circular motions. Make sure you wear gloves as this chemical can react with your skin. Again only do thin layers – the thicker you apply it, the more it may leave streaks.
13. Leave each layer to dry for 30 minutes in-between coats. I applied four coats of sealer in total, and you do start to notice layer by layer that it’s not absorbing as well, which means it’s working. Make sure that you wipe away any sealer that just sits on top and is not absorbed after a few minutes with a cloth. After the last layer, leave it to dry well before use. The instructions say that within two hours of the final coat it can be used, but I left it for a day, just to be sure.
I wanted a table that was still a bit rustic with a matte finish rather than shiny polished concrete. If you want a gloss finish, you’ll need to spend time polishing the concrete with a fine grade grit sandpaper, and look for a gloss finish sealer.
You won’t be able use regular surface cleaners when cleaning and maintaining your tabletop as they may mess with the sealer. Best to just dust off the surface, and if you spill, wipe it up straight away. Since this is a dining table, which will come in contact with food, grease and everyday messes, I invested in Aqua Mix AquaShield Cleaner & Resealer to clean the surface and also top up the sealer.
I have still been paranoid about anyone spilling or putting things down on the table without a coaster, but I have been paranoid for nothing. The liquid sits on the surface and can be easily wiped off. I've had greasy mess also splatter on the table, as you do, and it also wipes off easily. I still ensure that if a mess is made, it isn't left long enough to make a difference, and never wipe it off with water or general kitchen spray, always with a cement cleaner spray and dry cloth. Like any surface, I always use a trivet before I put hot items down.
I have been slack with the maintenance, as I told myself I'd wipe the table down once a week with the Aqua Mix AquaShield Cleaner & Resealer, but it probably only gets a good wipe down every couple weeks. It's still as strong and unmarked as the day I made it.
Why join the Bunnings Workshop community?
Workshop is a friendly place to learn, get ideas and find inspiration for your home improvement projects