The Bunnings Workshop community can help with your home improvement projects.
- Bunnings Workshop
- >
- Featured Projects
- >
- Farmhouse mudroom and laundry makeover
Farmhouse mudroom and laundry makeover
Share
- Subscribe to RSS Feed
- Mark as New
- Mark as Read
- Bookmark
- Subscribe
- Printer Friendly Page
- Report Inappropriate Content
A laundry updated with a renovated cupboard, bench, coat hooks and boot rack, with tiles given a facelift using paint.

The project
When we built our house six years ago, we made the laundry room bigger than usual, as I had grand ideas of making a mudroom to dump wet jackets and boots, since we live on five acres. I only just tackled the project this year and I’m very pleased with how it turned out.
I added a renovated cupboard for the vacuum and other utilities, a bench, a boot rack, coat hooks on a shiplap wall, retrofitted a cabinet to be a hidden cat litter box, and painted boring tiles to add to the farmhouse look.
Steps
Step 1
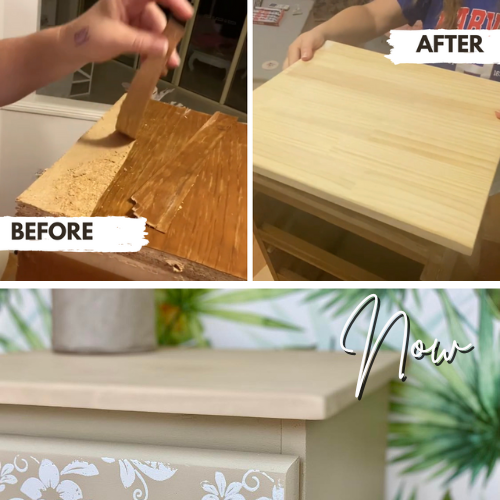
Cut thin ply into strips for border around cupboard. Glue on with liquid nails and clamp overnight. Prime and paint. Attach your style of handle on the doors. Attach with brackets to wall.


Step 2
To make the bench, use the handsaw or other tool you might have to cut sleepers to size. Use spare wood, at least 40mm thick, to build squares for the legs. Attach with screws then screw onto sleepers. Then paint.

Bracket to wall after wall is completed.

Step 3
For faux shiplap wall, cut ply using straight edge into 15cm strips. Sand the boards.
Attach to the wall using liquid nails and bullet nails (depending on if you are brick or timber framed walls). Allow a spacing of a 20 cent coin to keep consistent.

Prime, paint and then attach the coat hooks. Then attach the shelf using brackets.


Step 4
For live edge shelf, find where your studs are and attach the shelf bracket. Then sand and wax your live edge wood piece, then attach to the bracket on the wall.

Step 5
For the boot holder, cut 22mm dowel into 22.5cm lengths. Cut 1.2m Pine board into 60cm lengths.
Sand both. Use the spade bit to make even holes in the board, going almost all the way through. Attach dowel using wood glue and a small screw through the back.
Prime and paint and then attach using wood screws.
.jpg")
Step 6
For the hidden cat cupboard, use an old picture frame for the frame. Use a jigsaw to cut the frame out in the cupboard. Sand the hole. Attach the picture frame using liquid nails.


Step 7
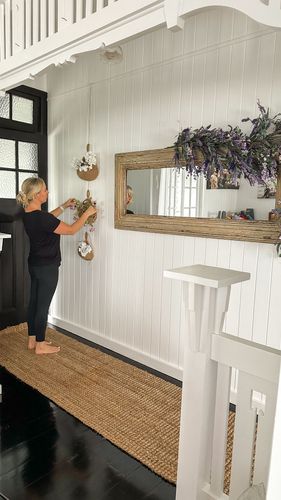
For the hanging laundry rack, I followed a Bunnings tutorial for ideas then I altered it to work for my laundry room.


.jpg")
Step 8
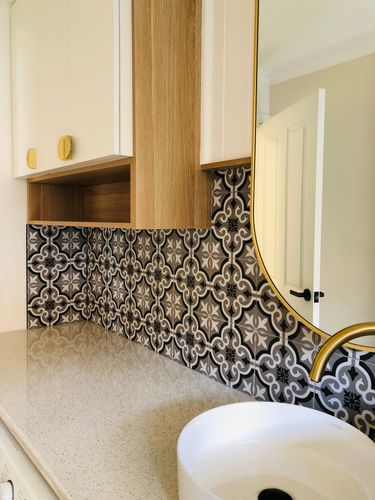
For the tiles, I sprayed ESP easy prep on the tiles then used white tile paint. I also used the IOD stamps with permanent stamp ink to create the animal designs.

Step 9
Completed project.


Tools and materials
Materials used in the project:
- Montgomery cupboard (mine was secondhand)
- Dulux Wash & Wear paint (sage green)
- Plywood
- Liquid Nails
- Wood glue
- 140 x 19mm x 1.2m Pine x 2
- Tile paint
- 2.7mm dowel
- 22mm dowel
- DAR for the hanging laundry rack
- Small eye hooks x 4
- Metal rings x 2
- Single pulley
- Double pulley
- Black rope
- Soft wax
- Cleat hook
- Assortment of screws and nails
- 4 hole brackets
- Floating shelf brackets
- Live edge wood shelf
- Handles
- Magnetic catch for cupboard door
- Pine sleepers
- Spare timber for bench squares
- Ply 3-5mm
- Coat hooks
- IOD stamps
- Picture frame
- ESP easy surface prep.
Tools used in the project:

How to plan a laundry renovation
Experienced Workshop community member Adam has shared a comprehensive guide How to plan a laundry renovation, including how best to plan and some top tips on how to revamp your laundry.

More inspiration for your laundry project
Community member ashleesellen transformed her garage into a spacious laundry.

Workshop member kendallmac's Mediterranean farmhouse laundry reno included VJ panelling, Kaboodle cabinetry, new sink, shelving and hanging racks.

Check out our Top 10 most popular laundry renovation projects for more creative ideas from Bunnings Workshop community members.
- Mark as Read
- Mark as New
- Bookmark
- Highlight
- Report Inappropriate Content
Evening @Natalya
 Now that is a useful room! Where hould I start with the bits I love the most (yeah the bits Id us ethe most id say lol)
The clothes dryer! Love the idea, always wondered how to thread it using the pulleys but you have made me reconsider a curtian/blind idea I have!
The Boot rack seriously my wet boots from working in theyard digging... Dont live on acreage  but do get messy! Would be handy in a bunch of areas I think.
The cat box I really like the idea, how does the cat like it?
Well thought out useful room, the colours you have chosen with the paneling really bring a calm to a very busy room.
Envy...
Dave
Why join the Bunnings Workshop community?
Workshop is a friendly place to learn, get ideas and find inspiration for your home improvement projects