
- Bunnings Workshop
- >
- Discussion
- >
- Whole of House
- >
- Create a kids magnet board + Hide an old...
Create a kids magnet board + Hide an old heater
- Subscribe to RSS Feed
- Mark Topic as New
- Mark Topic as Read
- Float this Topic for Current User
- Bookmark
- Subscribe
- Mute
- Printer Friendly Page
Share
- Mark as New
- Bookmark
- Subscribe
- Mute
- Subscribe to RSS Feed
- Highlight
- Report Inappropriate Content
Create a kids magnet board + Hide an old heater

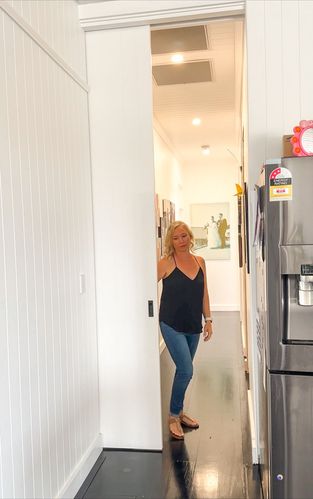
I thought I would post about my efforts in creating a magnet board for my daughter. As she is now a toddler, we've had a few incidents with her wanting to play in the kitchen. Most of the time it is fine for her to use the fridge and her magnets, but not whilst we are cooking in there.
As she was now not allowed in the kitchen, she started using an old diesel heater to stick her magnets on as its facade is metal. This wasn't a great option for her either, as the fins were quite sharp and posed as much risk as her being in the kitchen. In an attempt to entertain her elsewhere, I had thoughts of creating a stand-alone magnet board. Being in a rental property there were limited places to have one and certainly, nowhere I could fix it to the wall.
I then had the idea that if I encased the heater, I could create the board around it. It would solve the problem of no magnet board and hide the unsightly old heater.

I started with some 138 x 18mm Primed Finger Jointed Pine Moulding, constructing a simple frame around the heater. Nothing fancy involved, just basic butt joints glued and nailed together with a Ryobi 18v Cordless Brad Nail Gun. I then added screws to the joins for extra strength.

I wanted this frame to sit flush against the wall and the skirting board was preventing that. I made a template out of cardboard and transferred that to the bottom corner. I then cut it out with a Ryobi 18v Cordless Jigsaw.

I cut up a piece of 1200 x 600 Galvanised Mini Sheet to suit the size. Unfortunately, the 600mm width was not enough to fully cover the front of the frame. I added another piece of the board to infill this section.
After the gal sheet was in place, I attempted to paint it with an aerosol can. After a few failed attempts to get a good finish, I decided to cut my loses and purchase some white contact paper to cover the front magnet surface.


I started installing trim pieces around the sides to cover the exposed sheeting edge. I also placed one across the bottom edge of the sheet where it transitioned into my infill strip of timber.


After the trim was installed I filled all holes and defects with Selleys Spakfilla Rapid. Then sanded the areas smooth.

Next was painting the trim pieces. I covered up the exposed areas that I didn't want to paint with Scotchblue Masking Tape and applied a couple of coats of Dulux Chalk Effect Paint.

I proceeded to add some more colourful contact paper around the exterior and trim piece of the unit.

The only other thing to do was add some embellishments, like her name and a couple of hearts to give it some character. Unfortunately, there were no I's available so I persuaded a K to become one. These were attached by glue with Selleys Liquid Nails Clear Construction Adhesive and nailed in place.

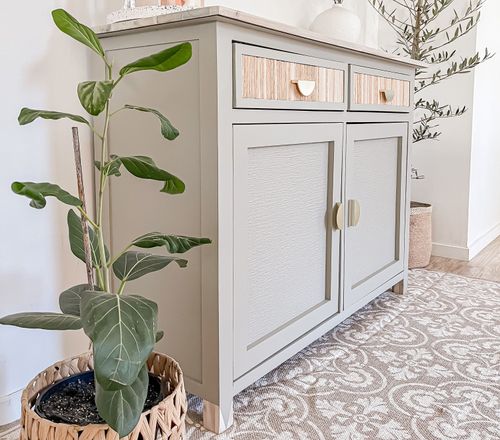
An awesome magnet board, a happy daughter and one less ugly diesel heater.

Mitch
I am a Bunnings team member. Any opinions or recommendations shared here are my own and do not necessarily represent those of Bunnings. Visit the Bunnings website for assistance from the customer service team.
- Mark as New
- Bookmark
- Subscribe
- Mute
- Subscribe to RSS Feed
- Highlight
- Report Inappropriate Content
Re: Create a kids magnet board + Hide an old heater
Why join the Bunnings Workshop community?
Workshop is a friendly place to learn, get ideas and find inspiration for your home improvement projects
You might also like

We would love to help with your project.
Join the Bunnings Workshop community today to ask questions and get advice.